Lesson 101.2: Creating and configuring your Nami wallet
Lesson Overview
Welcome to your first hands-on project in the Deep Funding Academy! We designed this lesson to familiarize you with the Cardano blockchain by guiding you through creating a Nami Wallet and connecting it to the Preprod network. By the end of this project, you'll have a functional Nami wallet set up for testing and development purposes within the Cardano ecosystem.
Lesson Objective
Successfully create a Nami wallet and configure it to connect to the Cardano Preprod network.
Lesson Benefits
- Understand the steps to secure and manage a cryptocurrency wallet.
- Gain practical experience with blockchain technology and decentralized networks.
- Learn about the significance of network environments in blockchain development.
1. Go to the official Nami Website
The first step is to visit namiwallet.io and select your preferred browser to download the extension. We will provide a step-by-step guide using the Brave Browser for this tutorial.
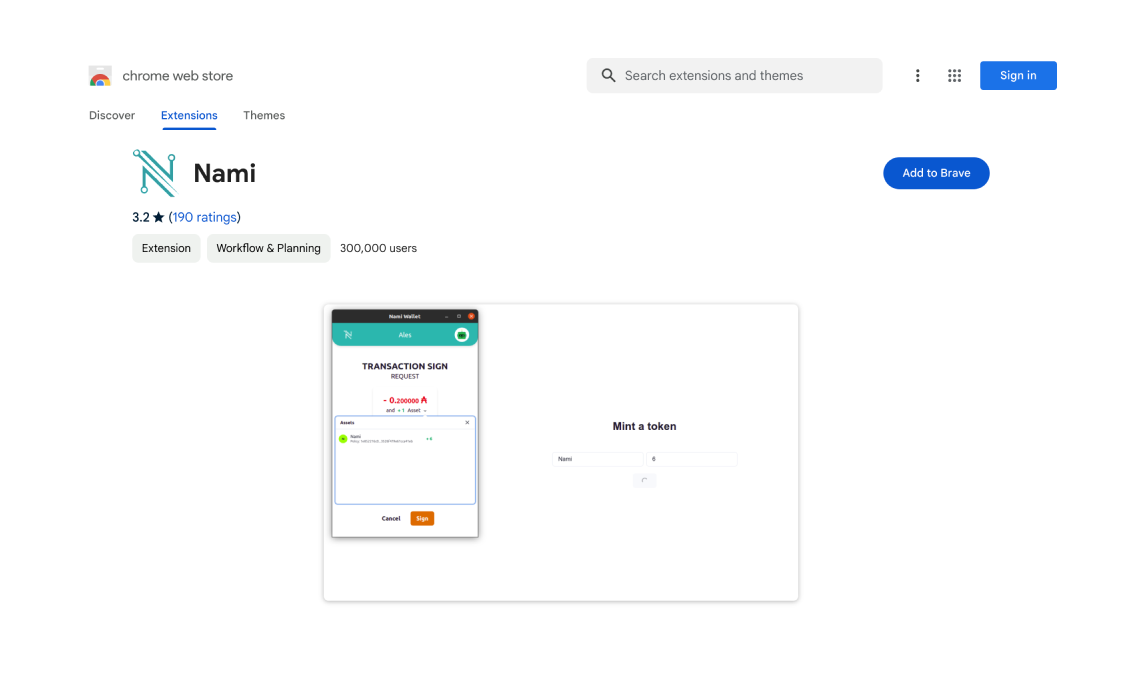
Clicking on the browser icon will automatically open a new tab in the Chrome web store, where you can add the extension to your browser.
2. Installation
Click ' Add to Brave ' once the Chrome Web Store is open.
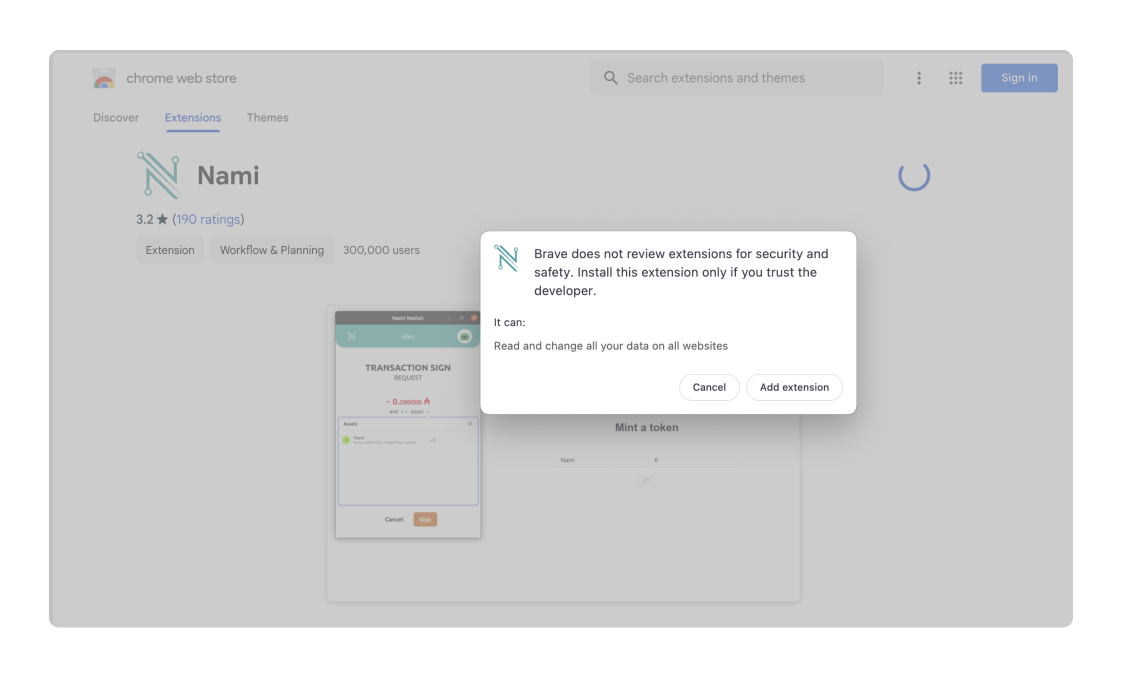
A pop-up window will appear. Click on Add extension.
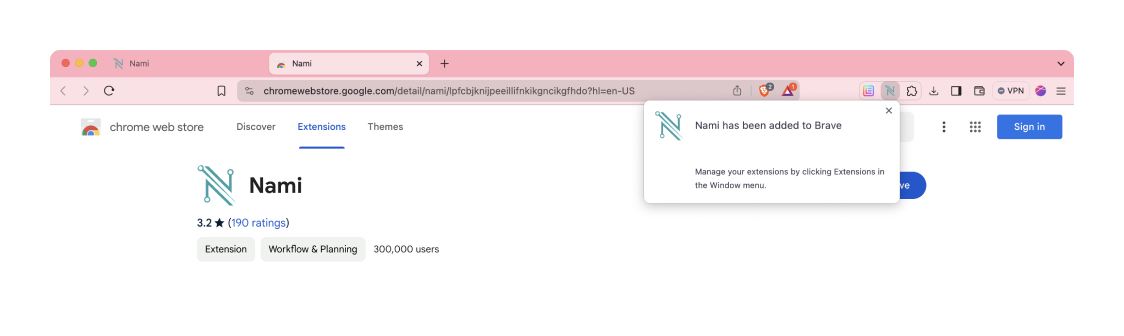
Congratulations, you have successfully added a Nami wallet extension to your browser.
If you can't find the extension directly on the toolbar, you can find it by clicking on the puzzle icon, as shown in the image below.
![]()
For faster access and a quick shortcut to the Nami Wallet, you can use the "pin icon" to pin the Nami Wallet extension. This way, it will be available on the Google Chrome toolbar.
3. Create a Nami New Wallet
After clicking the Nami Wallet, you can see two options.
- New Wallet
- Import
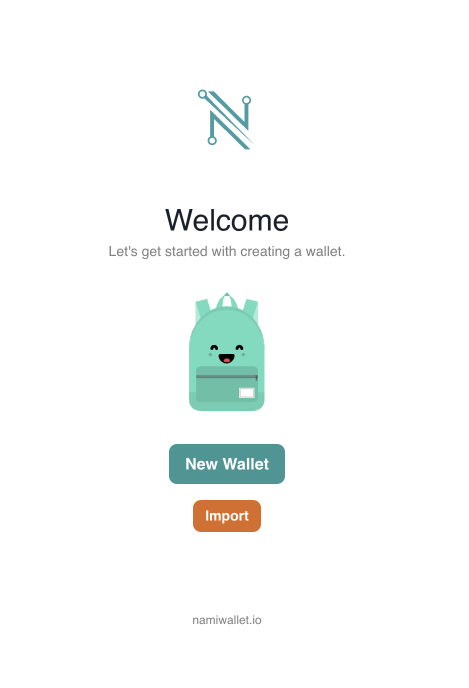
This how-to guide is for creating a New Wallet.
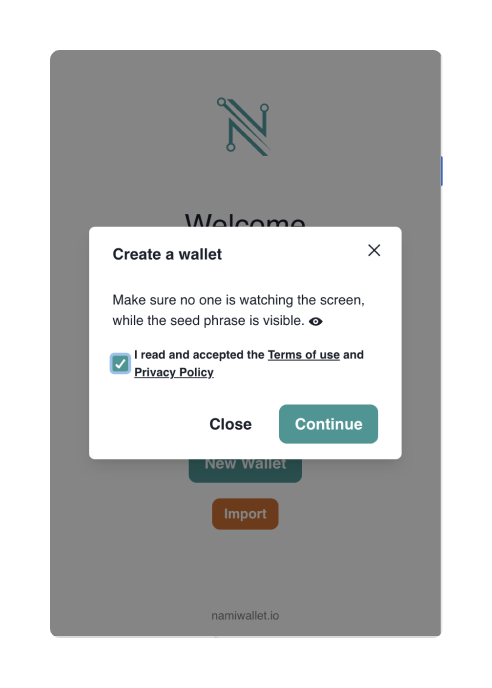
To create a new wallet, click on New Wallet. Accept the Terms of Use and click the "Continue" button to forward to the next step.
4. Store your Seed Phrase
After clicking continue, Nami will provide you with your unique Seed phrase. This Seed phrase will give you direct access to your Nami Wallet.
⚠️ Note it down in private. Never show your seed phrase to anyone. Keep your seed phrase in a safe place. You can only recover your account via your seed phrase. There is no alternative to this. If you lose your seed phrase, you cannot recover your wallet.
Check out this video from Charles Hoskinson on security fundamentals if you want to learn more about keeping your wallets safe.
5. Create your Account
After noting down and verifying your Seed Phrase, you will be prompted to create an account. To do so, fill in the desired wallet name and password.
After that, you can click Create.
And you're all set! You can now close this tab by clicking close.
6. How to find your Nami Wallet Address
To find your Nami Wallet Address, open the Nami extension on your browser and click the Receive button, which will open a QR code, and your address will appear below. This is the receiving Cardano Native address of your Nami wallet.
If you have questions, watch this video tutorial on installing a Nami wallet in 3 minutes.
7. Configure your Nami wallet to use the preProd network
The DeepFunding Academy uses the preProd network, so you must configure your Nami wallet accordingly. Watch this short video to learn how to configure your Nami wallet to use Cardano's preProd network.